


Digitized Embroidery for Custom Apparel: Logos, Text, and Beyond
Whether youre a small business, creative entrepreneur, or hobbyist, embroidery adds a premium, personalized touch to apparel. But theres one critical step you cant skip digitizing your design.
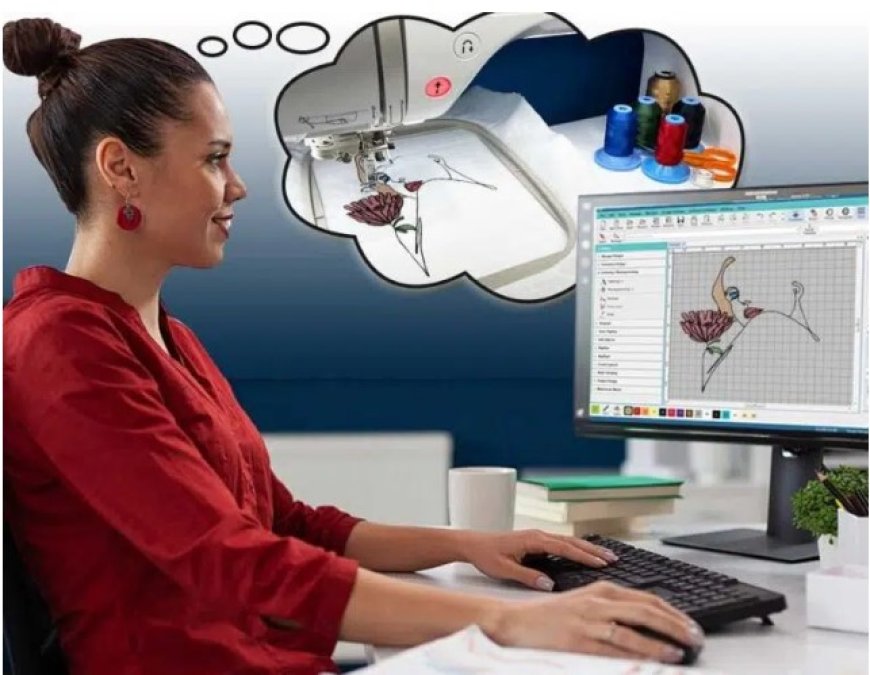
Digitized embroidery is the magic that transforms a flat logo or piece of text into precise, stitch-ready artwork. And if you're wondering how to get started or how it all worksyou're in the right place!
In this guide, well walk you through:
- What embroidery digitizing is
- Why its essential for custom apparel
- How to digitize logos, text, and more
- Your best options (including pro services like Digitizing Buddy)
- And beginner-friendly tips for high-quality results
Lets get stitching!
What Is Embroidery Digitizing?
Embroidery digitizing is the process of converting artwork (like a logo or text) into a stitch file your embroidery machine can read.
These stitch files (like PES, DST, JEF, etc.) tell the machine:
- Where to place each stitch
- What type of stitch to use (satin, fill, run)
- The color sequence
- Any trims, stops, or jump stitches
Think of digitizing as translating your design into a language the embroidery machine understands.
Why Digitizing Is Crucial for Custom Apparel
You cant just upload a PNG or JPG to your embroidery machine and expect magic. It needs detailed stitching instructions. Without proper digitizing, your embroidered design could end up looking:
- Blurry or warped
- Misaligned or off-center
- Too dense or with loose threads
- Out of proportion on shirts, hats, or jackets
Whether you're decorating t-shirts, polos, caps, or hoodies, digitizing makes sure your embroidery looks crisp, professional, and clean.
What Can Be Digitized?
Almost anythingif done right!
Logos
Perfect for uniforms, brand merchandise, events, and company apparel. Digitized logos look sharp and recognizable across all materials.
Text & Monograms
From names on chef coats to initials on wedding robes, text-based embroidery is timeless. The trick? Choosing fonts that stitch cleanly (block fonts work best).
Artwork & Illustrations
Even hand-drawn art or illustrations can be digitized with the right software or servicejust keep it simple with clean lines and fewer colors.
Custom Graphics & Patches
Ideal for jackets, backpacks, and patches. Great for sports teams, fan merch, and collectors.
The Digitizing Process: How It Works
Heres a simplified breakdown of how a design goes from graphic to stitches:
1. Prepare Your Artwork
Start with a high-res image (PNG, SVG, or vector preferred). The cleaner the design, the better the digitizing result.
2. Digitize Using Software or a Pro Service
A digitizer uses specialized software to assign stitch types, direction, underlay, and color codes.
3. Export in Machine Format (e.g., PES, DST)
The final file is saved in a format your embroidery machine can read.
4. Load & Test on Your Machine
The file is transferred to your machine (via USB, software, or Wi-Fi), and a sample test is stitched on fabric.
DIY Digitizing vs. Hiring a Pro
You have two options: Do It Yourself or hire a professional digitizer. Lets compare:
|
Feature |
DIY Digitizing |
Pro Digitizing Services (e.g., Digitizing Buddy) |
|
Software Required |
Yes (Hatch, SewArt, Ink/Stitch) |
No |
|
Learning Curve |
Steep for beginners |
None |
|
Stitch Quality Control |
Requires experience |
Expert-crafted and tested |
|
Time Required |
Hours (or more) |
1224 hours turnaround |
|
Cost |
$75+ for software |
~$10$25 per design |
Pro Tip: If you're doing one-time or commercial embroidery, services like Digitizing Buddy offer fast, affordable, and high-quality digitized files. Upload your artwork and get it back ready to stitch in PES, DST, JEF, and more.
Embroidery File Formats (Know Your PES from Your DST)
Different embroidery machines require different file types. Here's a quick overview:
|
Machine Brand |
Common File Format |
|
Brother / Babylock |
PES |
|
Janome |
JEF |
|
Bernina |
EXP |
|
Tajima |
DST |
|
Melco |
OFM |
Always check your machines manual to confirm the required format. Most digitizers can provide multiple file types if you ask.
Tips for Digitizing Logos and Text
1. Simplify Your Design
Remove unnecessary gradients, shadows, or tiny details that may not stitch well.
2. Use Clean Fonts
Block fonts work best for embroidery. Avoid cursive or ultra-thin text, especially under 5mm tall.
3. Match the Fabric Type
Denser fabrics like denim need less underlay, while stretch fabrics (like performance shirts) need more stabilization.
4. Choose the Right Size
Avoid shrinking complex designs into small sizesthey lose clarity. Instead, create multiple versions if needed (e.g., large logo for back, simplified for chest).
Embroidering on Different Apparel
Each fabric or garment type comes with its own challenges:
|
Apparel Type |
Digitizing Consideration |
|
Hats |
Stitch center-out, add strong underlay, simplify text |
|
T-Shirts |
Light density, use tear-away stabilizer |
|
Jackets |
Bold stitches, good for fill or 3D puff |
|
Polos |
Avoid large fill areas, use light satin |
|
Tote Bags |
Medium density, strong backing needed |
Working with Digitizing Buddy: What to Expect
Heres how easy it is to get started with Digitizing Buddy:
- Upload your image (PNG, JPG, SVG, PDF)
- Specify size and machine format (e.g., PES for Brother)
- Receive your digitized file within 1224 hours
- Download, load, and stitchyoure ready to go!
Their files are tested, clean, and machine-optimized. Plus, they offer free edits if needed.
FAQs About Embroidery Digitizing for Apparel
Can I embroider anything I design?
Yesbut it should be digitized properly, with the right stitch types and size for embroidery.
Is digitizing one-time or per garment?
Just one time! Once you have your digitized file, you can reuse it endlessly.
Can I change colors later?
Absolutely. Your embroidery machine will let you select different threads even if the digitized file has preset color codes.
Is digitizing the same as vectorizing?
No. Vectorizing is for printing and screen design; digitizing is for embroidery stitch data.
Final Thoughts: Your Custom Apparel, Upgraded
Digitized embroidery takes your designs from flat to fabulouswhether its a logo on a polo, monogrammed initials on a tote, or detailed art stitched onto a jacket.